
Rivage Power Loop Planner
A first-hour checklist for A.R.E.S.: what to finish before the lights die.
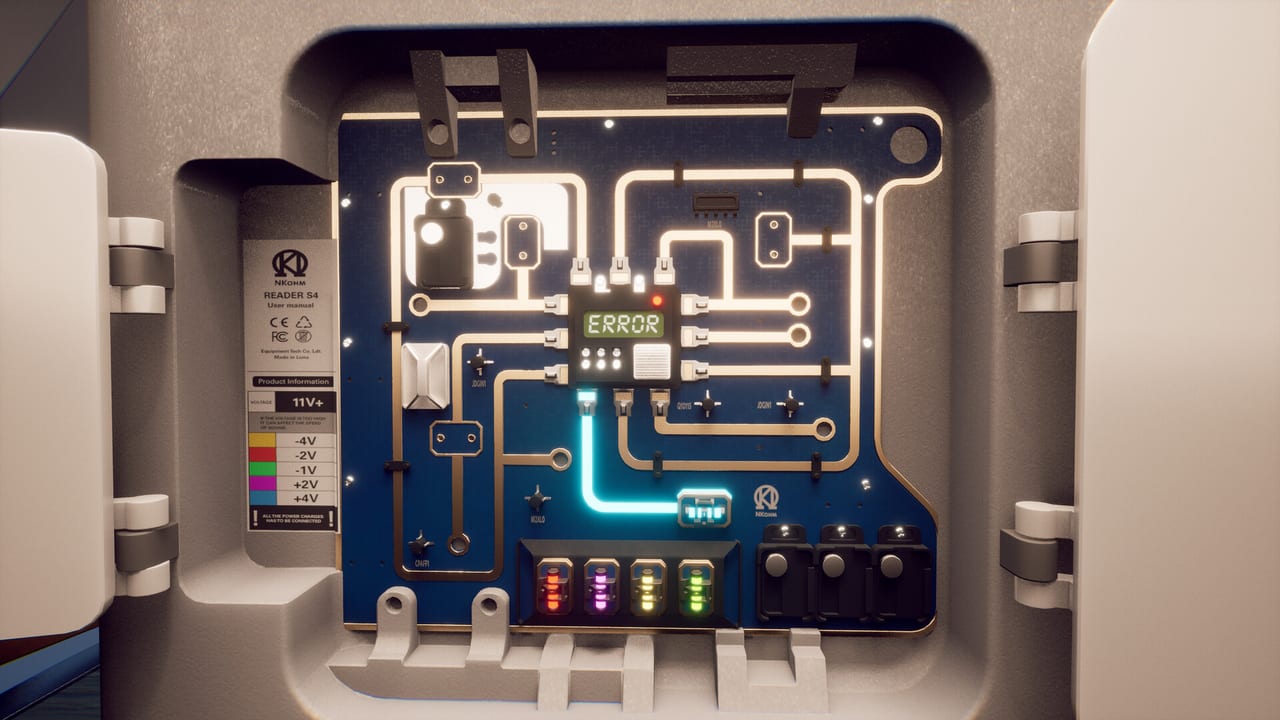
How to use this planner
Rivage does not end a loop when Miranda is hurt. A.R.E.S. ends it when power runs out. The time-loop guide explains the fiction. This page is the practical checklist: what to finish while the lights are still up, based on the Steam demo’s first hour.
Treat it as planning, not a master list of every solution code. Exnilo pulled the public demo after the delay because that build no longer matched the ship version. Local copies still run. Saves do not carry over. UI, hints, and some puzzles were reworked. If a door in the September 22, 2026 game sits somewhere new, stop following this outline and switch to the walkthrough.
Rivage is single-player only. There is no multiplayer mode to coordinate. You are budgeting one person’s footsteps, one item in hand, and one K9 log.
Before loop 1
- Read getting started if you have never opened K9.
- Bind screenshot, flashlight, and the K9 panel. The controls page lists them.
- Accept that the in-world stamp is May 1, 2467 every time you wake. You are not advancing a calendar by walking farther.
- Do not race to a high-level lobby door on the wall map. Level numbers in the demo were a trap for curious first loops.
Loop 1 — quarters, mail, codes, K9
Stay near Miranda’s bunk until K9 is actually on. The boot voice names her, resets the log, and warns that most of the crew is missing and that power is critical. That warning is the timer.
Checklist:
- Scan the neural-device pamphlet and open K9. If you skip this, later loops make you retype everything.
- Photograph the room: books, diploma, name-bearing clutter. You are building a character file, not decorating.
- Find Stardust and the password-reset clues in the same cabin. The book title is the well-documented safe code. The computer recovery is a separate pattern you complete from objects in that room (birthday and reset prompts). The walkthrough keeps the order. Do not type random dates into every machine.
- Read mail. Welcome messages, chore lists, and crew names belong in K9, not in your fading memory.
- Screenshot any numeric codes, barcodes, or reset instructions you can see without leaving the wing. Bank them even if you cannot use them yet.
- Walk only as far as the crew corridor and kitchen windows you can enter without spending a rare tool. Note Dahia, Johnny, Aman, and Rafi nameplates. Do not force Aman’s ID door yet.
When power warnings stack, stop exploring new wings. If K9 already holds the password and two screenshots, walk to Time Trickster after the blackout and bank the loop. A clean reset beats a greedy one.
Loop 2 — power rooms and batteries
The demo’s second productive hour is electricity. Low-power signs tell you to search heavy power devices for batteries. A kitchen or pharmacy note tells Johnny to gather three batteries and keep them next to the emergency pharmacy machine. You can carry one item at a time.
Checklist:
- Route a loop that only visits battery rooms. Do not detour into lobby terminals.
- Pick up one battery, walk it to the pharmacy, seat it, then go back. Repeat. The note is a chore and a character clue.
- Do not spend pharmacy cells on random props if the same note says those batteries are not for something else.
- If a device is empty, look for the emergency-power handle or bypass described on the adjacent plaque. Screenshot the plaque before you pull anything.
- When the pharmacy is stable enough to open a previously dark door, stop. Bank the path in K9. You do not need to clear the whole station in loop 2.
Power rooms exist so later loops can reach the pod bay. They are not a combat arena. There is no combat in Rivage.
Loop 3 — pod bay and keys
Once emergency light lets you leave the residential wing, the demo’s next job is receiving / pod bay access and keys tied to Aman’s belongings. Miranda’s to-do in that build tells her to gather Aman’s things and retrieve the key to his box. Official story language is still “vanished,” not a declared death. Do the tasks. Do not write an ending.
Checklist:
- Spend the loop on bay doors, not on rereading kitchen ration audio.
- Carry the key only when you know which box it fits. Wrong-object trips are how people burn power.
- If you find a damaged access card, photograph both sides before you walk to a printer. Card-restore steps are puzzle work; the planner only says to finish identification in this loop, not to memorize every barcode.
- Unlock one new persistent door. If power is thin, seat what you are carrying and reset at Time Trickster instead of starting a new wing.
Later loops — lobby puzzles
Lobby computers, color panels, locker tapes, and higher door levels showed up in longer demo sessions. They are slow on purpose. Screenshot every reset card the moment you see it. The cabin computer already taught a password-reset pattern (prompts plus a date you find in quarters). Later terminals may want a different first line. Do not paste Stardust into every machine; that title is the cabin safe, not a station-wide master key.
When the grid dies, do not wander for extra flavor. Use the Time Trickster cabinet to bank the loop, as the time-loop guide describes. Aman’s high-score mail is character clutter, not a reason to burn the last of the power playing the cabinet as a toy.
If a later loop is only for reading crew audio, say that out loud before you start walking. Investigation loops and routing loops should not be the same walk.
After the planner
Confirm live steps in the walkthrough. Re-read K9 if you are still losing codes between wakes. Check system requirements if hitching, not power, is what ends your session. The planner’s job is smaller: keep loop 1 in the quarters, loop 2 on batteries, loop 3 on the bay, and everything after that on doors you have not already photographed.
Frequently Asked Questions
Quick answers to the most common questions.
What should I do in the first Rivage loop?
Turn on K9, search Miranda's quarters, complete the cabin password reset, open the *Stardust* safe, and screenshot codes. Do not rush the lobby.
What is the loop 2 priority?
Power. Follow Johnny's pharmacy-battery note, carry one cell at a time, and restore emergency light before you hunt new story rooms.
Does this planner list every door code?
No. It names well-documented demo patterns such as *Stardust* and reset-instruction dates. Full solutions belong in the walkthrough.
Will this still work after the demo was pulled?
Use it as a power-budget outline. Exnilo reworked UX and some puzzles. Local demos still run, but saves do not carry into the full game. See the demo guide.
Can a second player handle batteries while I explore?
No. Rivage is single-player only. One person carries one item. There is no multiplayer mode.